
Motorcycle Mechanic Manual: A Comprehensive Guide
This manual provides free resources for motorcycle repair, including service manuals for Suzuki, Triumph, and Honda bikes. It also links to Internet Archive resources and 4-Stroke.net for Honda documentation.
GTAMotorcycle.com offers Triumph manuals, while jiffypark.com has Suzuki TL1000 resources. Yamaha, BMW, Ducati, and Kawasaki manuals are also available for download.
Embarking on motorcycle mechanics requires a foundational understanding of these complex machines. This field blends engineering principles with practical skills, demanding both diagnostic acumen and hands-on expertise. Successfully navigating repairs necessitates access to reliable information, making service manuals invaluable tools. Resources like GTAMotorcycle.com and the Internet Archive offer a wealth of knowledge, from basic maintenance to intricate engine overhauls.
Understanding motorcycle systems – engine, chassis, electrical – is paramount. Honda 4-Stroke.net provides official manuals, including wiring schematics, crucial for troubleshooting. The availability of free downloads for Suzuki, Yamaha, BMW, Ducati, and Kawasaki models democratizes access to repair information. However, remember that manuals are guides; practical experience and a commitment to safety are equally vital.
Effective motorcycle maintenance extends beyond simply fixing problems; it involves preventative care, ensuring longevity and optimal performance. Whether you’re a novice or an experienced rider, continuous learning and utilizing available resources are key to mastering motorcycle mechanics.
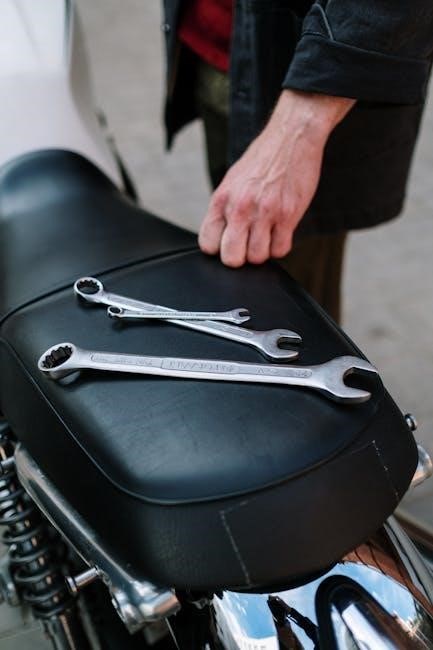
Essential Tools for Motorcycle Repair
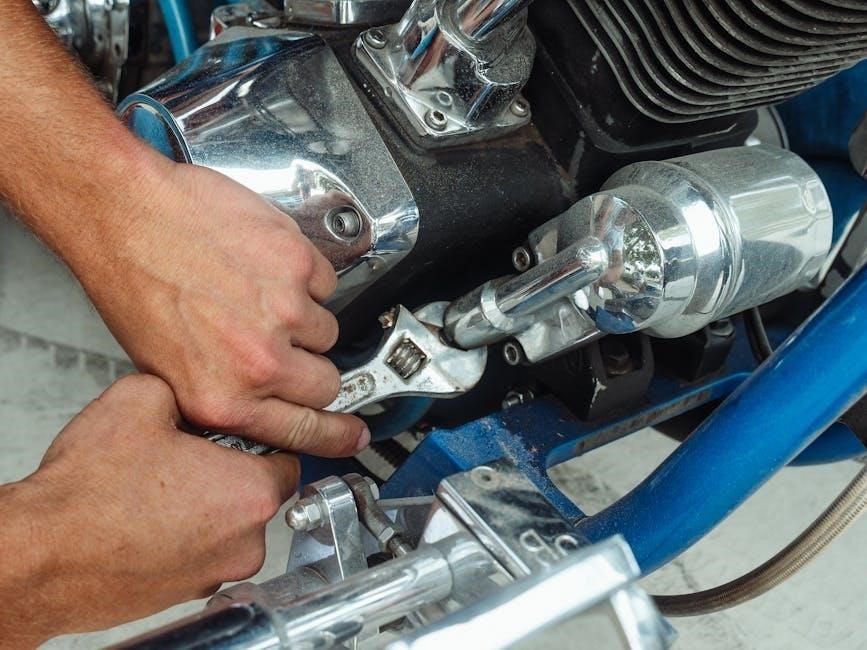
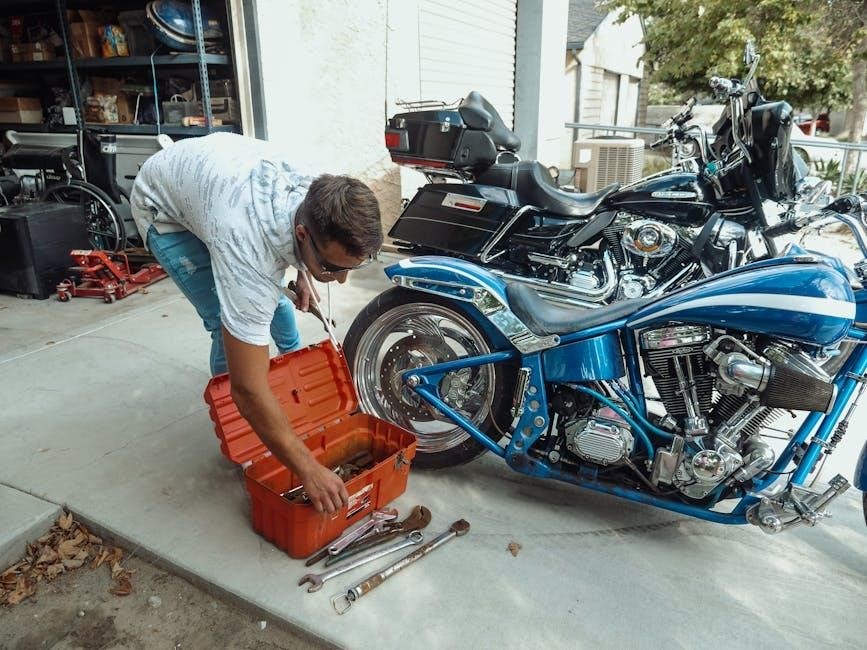
Successful motorcycle repair hinges on possessing the right tools. Beyond standard wrenches and screwdrivers, specialized equipment is often necessary. Access to service manuals, readily available through resources like GTAMotorcycle.com and the Internet Archive, will detail specific tool requirements for each model – Suzuki, Triumph, Honda, and others.
Essential investments include torque wrenches for precise fastener tightening, multimeter for electrical diagnostics, and compression testers for engine health assessment. Valve lapping tools, carburetor synchronizers, and specialized pullers are crucial for specific tasks. Honda 4-Stroke.net’s manuals often illustrate tool usage, aiding comprehension.
Prioritizing quality over cost is vital; durable tools enhance efficiency and prevent damage. A well-organized toolbox, coupled with a comprehensive understanding gleaned from free downloadable manuals for brands like Yamaha, BMW, and Ducati, will empower any mechanic to tackle a wide range of repairs effectively and safely;
Safety Precautions for Motorcycle Mechanics
Motorcycle repair, while rewarding, demands strict adherence to safety protocols. Always disconnect the battery before commencing electrical work to prevent shorts and shocks. Utilize proper lifting techniques and secure stands when working on the motorcycle to avoid crushing injuries – referencing service manuals from sites like GTAMotorcycle.com for correct jacking points is crucial.
Wear appropriate personal protective equipment (PPE), including safety glasses, gloves, and sturdy footwear. Handle fuels and chemicals in well-ventilated areas, and dispose of waste responsibly. Be mindful of hot engine components and exhaust systems, allowing sufficient cooling time before touching them.
Consulting repair manuals – whether downloaded from the Internet Archive or Honda 4-Stroke.net – is paramount for understanding specific hazards associated with each repair. Never work under a motorcycle supported only by a jack. Prioritize a clean, organized workspace, and always double-check your work, ensuring all fasteners are tightened correctly, regardless of the brand – Suzuki, Triumph, Yamaha, BMW, Ducati, or Kawasaki.
Engine Systems
Engine repair requires detailed service manuals, like those found on GTAMotorcycle.com and 4-Stroke.net, covering Suzuki, Triumph, Honda, and other brands.
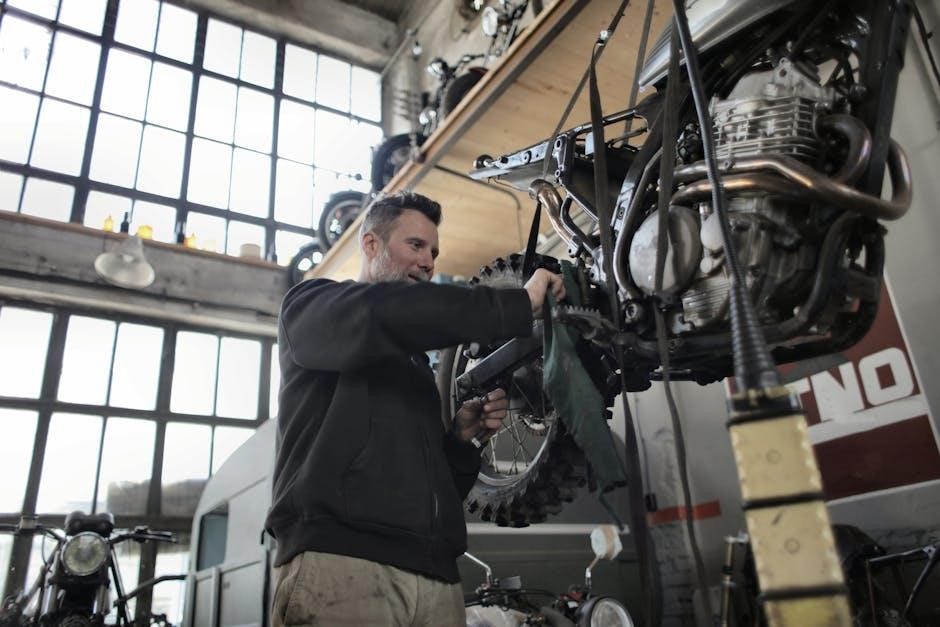
Engine Disassembly and Inspection
Successful engine rebuilding hinges on meticulous disassembly and thorough inspection, demanding access to a relevant service manual – resources are available via GTAMotorcycle.com and 4-Stroke.net. Begin by carefully documenting component placement with photographs, crucial for reassembly.
Disassembly should follow the manual’s prescribed sequence, utilizing appropriate tools to avoid damage. Once apart, inspect each component for wear, cracks, or deformation. Cylinder bores require precise measurement for taper and out-of-roundness. Pistons should be checked for scoring and proper ring seating.
Bearings (crankshaft, connecting rod, camshaft) need assessment for smoothness and play. Valve train components – valves, guides, springs – demand scrutiny for burning, wear, and correct spring tension. Gaskets and seals must be replaced regardless of appearance. A detailed inspection report, referencing the service manual’s specifications, is vital before commencing repairs.
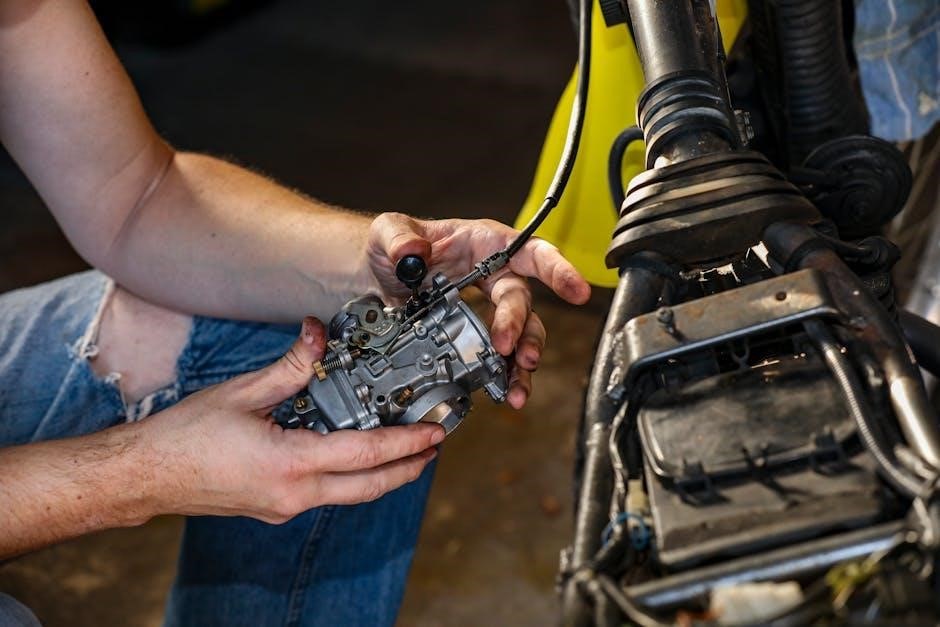
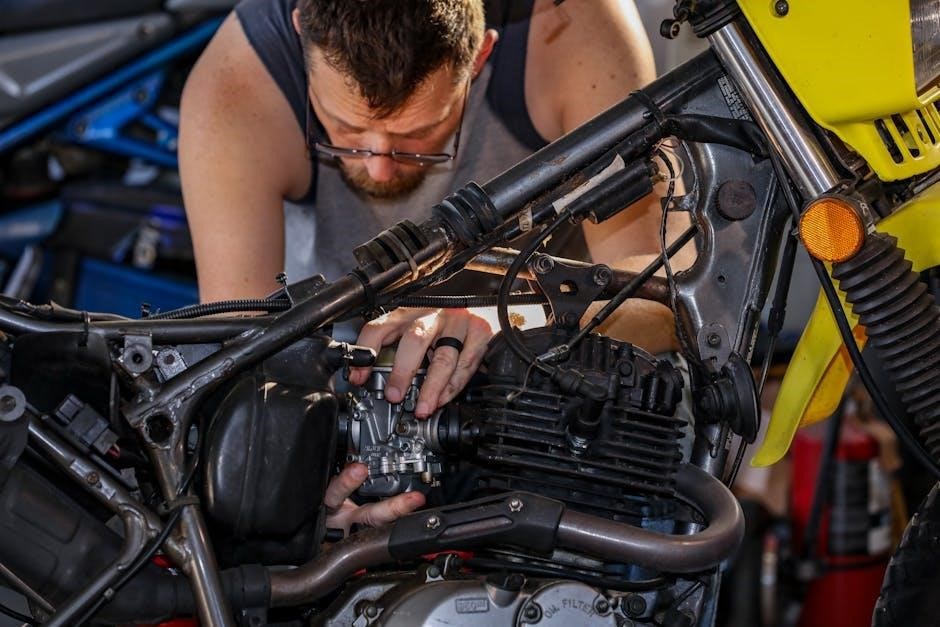
Carburetor/Fuel Injection Systems
Motorcycle fuel systems, whether carbureted or fuel-injected, require precise diagnosis and repair, necessitating a dedicated service manual – obtainable from sources like GTAMotorcycle.com and the Internet Archive. Carburetor service involves complete disassembly, cleaning of jets and passages with carburetor cleaner, and inspection of floats and needles for wear or damage.
Fuel injection systems demand a different approach. Diagnosis often relies on scan tools to read error codes and monitor sensor data. Inspect fuel lines, fuel pump pressure, and injector functionality. Fuel filters are critical and should be replaced regularly.
Synchronization is key for multi-injector setups. Always refer to the service manual for specific procedures and specifications. Thorough cleaning and testing of all components, coupled with careful reassembly, are essential for optimal engine performance and fuel efficiency. Remember to check for vacuum leaks.
Valve Train Adjustment and Repair
Valve train maintenance is crucial for engine longevity and performance, demanding a detailed service manual – resources are available via the Internet Archive and brand-specific manuals like those found on GTAMotorcycle.com. Valve clearance adjustment requires precise measurements using feeler gauges, adhering strictly to manufacturer specifications.
Inspection includes checking valve stems, guides, and seats for wear. Valve springs should be tested for proper tension and free length. Camshafts require visual inspection for lobe damage and bearing wear. Any signs of wear necessitate component replacement.
Proper torque is vital during reassembly. Incorrect valve clearances can lead to poor performance, overheating, or even engine damage. Always consult the service manual for the correct procedure and specifications for your specific motorcycle model. Careful attention to detail is paramount.
Engine Oil System Maintenance
Regular oil changes are fundamental to motorcycle engine health, and a comprehensive service manual – accessible through resources like the Internet Archive and brand-specific guides (Suzuki, Triumph, Honda) – is essential. Oil filters must be replaced with each oil change, ensuring optimal filtration. Inspect the oil filter housing for leaks or damage.
Oil level checks should be performed before each ride. Examine the oil for metal shavings, a sign of internal engine wear. Oil pressure should be verified using a gauge, comparing readings to the manufacturer’s specifications found in the service manual.
Oil cooler lines (if equipped) require inspection for cracks or leaks. Ensure proper sealing of drain and fill plugs. Using the correct oil type, as specified in the manual, is critical for lubrication and engine protection. Neglecting oil system maintenance leads to premature wear.
Cooling System Service
Motorcycle cooling systems, whether liquid-cooled or air-cooled, demand regular attention. A detailed service manual – obtainable from sources like GTAMotorcycle.com for Triumph or 4-Stroke.net for Honda – is crucial for proper service. For liquid-cooled engines, inspect the radiator for blockages and damage, flushing the system with coolant according to the manual’s instructions.
Coolant levels must be checked frequently, using the correct type of coolant specified by the manufacturer. Inspect hoses for cracks, leaks, and proper clamping. The water pump should be checked for leaks and unusual noises. Ensure the thermostat is functioning correctly, maintaining optimal engine temperature.
Air-cooled engines require inspection of cooling fins for debris and damage. Proper airflow is vital. Always consult the service manual for specific procedures and torque specifications to avoid damage and ensure efficient cooling.

Chassis and Suspension
Motorcycle chassis and suspension require meticulous care. Service manuals, like those found on GTAMotorcycle.com and 4-Stroke.net, detail wheel, tire, brake, and suspension overhaul procedures.
Front Suspension Overhaul
Front suspension overhaul is a critical maintenance procedure, demanding precision and adherence to manufacturer specifications outlined in dedicated service manuals. These manuals, accessible through resources like GTAMotorcycle.com and 4-Stroke.net, provide detailed step-by-step instructions for disassembling the forks.
The process typically begins with removing the front wheel and calipers, followed by loosening and removing the fork tubes from the triple clamps. Careful attention must be paid to the order of disassembly to avoid damaging internal components. Once disassembled, inspect the stanchion tubes for scratches or pitting, and the bushings for wear. Replace any damaged parts.
Service manuals will guide you through replacing the fork seals and oil, ensuring the correct oil viscosity is used. Reassembly requires careful alignment and torque specifications to guarantee proper function and prevent binding. Proper bleeding of the forks is essential to eliminate air bubbles and ensure optimal damping performance. Always consult the relevant service manual for your specific motorcycle model.
Rear Suspension Service
Rear suspension service, detailed in comprehensive motorcycle repair manuals available via resources like the Internet Archive and brand-specific guides (Suzuki, Triumph, Honda), focuses on maintaining optimal shock absorber and linkage performance. Initial steps involve safely lifting the motorcycle and supporting it securely.
Disassembly typically begins with removing the shock absorber(s) and swingarm linkage. Thorough inspection is crucial; check for worn bushings, damaged seals, and any signs of corrosion. Service manuals provide torque specifications for all fasteners, ensuring proper reassembly. Replacing worn bushings and seals is often necessary to restore damping efficiency.
Shock absorbers may require professional rebuilding or replacement, depending on their condition. Nitrogen charge and oil levels must be verified or adjusted according to the manual’s instructions. Reassembly demands precise alignment of the linkage and proper torque application. Regular rear suspension service, guided by a service manual, significantly enhances handling and rider comfort;
Wheel and Tire Maintenance
Wheel and tire maintenance, as detailed in motorcycle repair manuals sourced from sites like the Internet Archive and brand-specific documentation (Suzuki, Triumph, Honda), is critical for safety and performance; Regular checks include inspecting tire pressure, tread depth, and for any signs of damage – cuts, bulges, or embedded objects.

Manuals emphasize the importance of using the correct tire size and load rating. Wheel bearings should be inspected for play and smoothness; worn bearings require replacement. Spoke wheels necessitate periodic tightening and truing to ensure proper alignment. Balancing the wheels minimizes vibration and improves handling.
When replacing tires, always follow the manual’s recommended mounting procedures and torque specifications for wheel fasteners. Proper valve stem installation and balancing are also essential. Consistent wheel and tire maintenance, guided by a service manual, extends tire life and ensures a safe riding experience.
Brake System Repair
Brake system repair, as outlined in comprehensive motorcycle mechanic manuals available through resources like GTAMotorcycle.com and the Internet Archive, demands meticulous attention to detail. Service manuals for brands like Suzuki, Triumph, and Honda provide specific procedures for inspecting brake pads, rotors, and lines.
Common repairs include replacing worn brake pads, bleeding the brake lines to remove air, and resurfacing or replacing damaged rotors. Manuals detail the correct torque specifications for all brake components. Master cylinder and caliper rebuilds are also covered, requiring specialized tools and knowledge.
Always prioritize safety when working on the brake system. Ensure all components are thoroughly cleaned and lubricated during reassembly. Following the manual’s instructions precisely is crucial for maintaining optimal braking performance and preventing accidents. Proper brake function is paramount for rider safety.
Steering System Inspection and Adjustment
Steering system inspection and adjustment, detailed in motorcycle mechanic manuals sourced from sites like the Internet Archive and brand-specific resources (Suzuki, Triumph, Honda via GTAMotorcycle.com), is vital for safe handling. These manuals emphasize checking for play in the steering head bearings.
Inspection involves rocking the motorcycle back and forth while applying the front brake, feeling for any looseness or notching in the steering. Adjustment typically involves tightening the steering head nut to the manufacturer’s specified torque, often requiring specialized tools. Proper torque prevents binding or excessive play.
Manuals also cover inspecting and lubricating the steering stem, fork seals for leaks, and the condition of the handlebars and controls. Ensuring smooth, responsive steering is crucial for maintaining control, especially at higher speeds. Regular inspection, guided by a service manual, is key.
Electrical Systems
Motorcycle mechanic manuals detail battery maintenance, wiring diagram interpretation, charging system diagnosis, ignition troubleshooting, and lighting system repair for optimal performance.
Battery Maintenance and Testing
Motorcycle batteries require consistent attention to ensure reliable starting and electrical system function. A crucial aspect of battery maintenance involves regular inspection for corrosion around the terminals; cleaning with a baking soda solution and applying a protective coating prevents conductivity issues.
Testing the battery’s voltage with a multimeter is essential – a fully charged 12-volt battery should read approximately 12.6 volts. Load testing, simulating the draw of the starter motor, reveals the battery’s ability to deliver sufficient current.
Proper charging is paramount. Utilize a motorcycle-specific battery charger to avoid overcharging, which can damage the battery. During storage, a float charger maintains optimal charge levels. Furthermore, electrolyte levels (in non-sealed batteries) must be checked and topped off with distilled water. Always refer to the motorcycle mechanic manual for specific battery specifications and maintenance schedules relevant to your bike’s make and model.
Ignoring these steps can lead to premature battery failure and inconvenient breakdowns.
Wiring Diagram Interpretation
Motorcycle wiring diagrams are essential tools for any mechanic, representing the electrical system’s roadmap. Understanding these diagrams requires recognizing common symbols: lines indicate wires, circles represent connectors, and various shapes denote components like relays, switches, and sensors.
Diagrams typically illustrate circuits, showing how components are interconnected. Trace the path of a circuit from the power source (battery) through the components to the ground. Color coding of wires is crucial; diagrams usually specify wire colors for easy identification.
Pay attention to ground connections, often represented by a symbol resembling an upside-down tree. A motorcycle mechanic manual will provide specific diagrams for your model. Learning to interpret these diagrams allows for efficient troubleshooting of electrical faults, accurate repairs, and safe modifications.
Mastering this skill minimizes guesswork and prevents damage to the electrical system.
Charging System Diagnosis
Diagnosing a motorcycle’s charging system involves verifying the battery’s state of charge and assessing the alternator/stator’s output. Begin by checking the battery voltage with a multimeter; a fully charged 12V battery should read around 12.6V. With the engine running, voltage should increase to 13.5-14.5V, indicating the charging system is functioning.
Low voltage suggests a problem. Inspect the charging system components: the stator, regulator/rectifier, and wiring. A faulty stator won’t produce sufficient AC voltage, while a bad regulator/rectifier fails to convert AC to DC or regulate voltage properly.
A motorcycle mechanic manual provides specific testing procedures and voltage specifications for your model. Check for blown fuses, corroded connections, and damaged wiring. Utilize the wiring diagram to trace circuits and isolate faults. Proper diagnosis ensures the battery receives adequate charge, preventing starting issues and component failure.
Ignition System Troubleshooting
Troubleshooting the ignition system requires a systematic approach; Begin by verifying the spark plug condition – clean, properly gapped, and free from fouling. Next, check for spark at each plug using a spark tester. A weak or absent spark indicates a problem within the ignition system.
Common culprits include a faulty ignition coil, a defective CDI unit (Capacitive Discharge Ignition), or a malfunctioning pickup coil. A motorcycle mechanic manual will detail specific testing procedures for each component, including resistance checks and voltage measurements.
Inspect the wiring harness for damaged wires, loose connections, and corroded terminals. Utilize a wiring diagram to trace circuits and identify potential shorts or opens. Remember to consult the manual for specific timing specifications and adjust as needed. Proper ignition timing is crucial for optimal engine performance and preventing damage.
Lighting System Repair
Repairing a motorcycle’s lighting system begins with identifying the faulty component. Start by checking the bulbs themselves – are they blown? If not, move onto the fuses. A blown fuse indicates a short circuit, which needs to be located and repaired before replacing the fuse.
A motorcycle mechanic manual is invaluable for tracing wiring diagrams and understanding the circuit layout. Inspect the wiring harness for damage, corrosion, and loose connections. Pay close attention to connectors and ensure they are clean and secure.
The charging system directly impacts the lighting system; a weak battery or faulty charging system can cause dim or flickering lights. Test the battery voltage and charging system output to rule out these issues. Utilize a multimeter to check for voltage drops across wiring and components, pinpointing potential problems. Remember safety first – disconnect the battery before working on electrical systems.

Specific Motorcycle Brands — Manual Resources
Access a wealth of free manuals for Suzuki, Triumph, Yamaha, BMW, Ducati, and Kawasaki. GTAMotorcycle.com and 4-Stroke.net provide Honda documentation, aiding repair efforts.
Suzuki Motorcycle Service Manuals
Suzuki motorcycle service manuals are invaluable resources for both amateur mechanics and professionals tackling repairs and maintenance. Finding the correct manual is crucial for successful work, and thankfully, several online sources offer free downloads. GSX-R600 models from 1996 to 2000 are well-covered, with a dedicated manual available through xfer.gofastvideo.com.
Beyond the GSX-R600, jiffypark.com/tl/tl.htm is a treasure trove for owners of TL1000S and TL1000R models, offering comprehensive documentation. These manuals typically include detailed diagrams, step-by-step instructions, and troubleshooting guides covering everything from routine maintenance like oil changes and brake adjustments to more complex procedures like engine rebuilds and electrical system diagnostics.
Access to these manuals empowers owners to perform repairs themselves, saving on costly mechanic fees. Always ensure the manual corresponds to the specific year and model of your Suzuki motorcycle for accurate information and safe repair practices. Proper documentation is key to maintaining your Suzuki in optimal condition.
Triumph Motorcycle Service Manuals
Triumph motorcycle service manuals are essential for anyone undertaking maintenance or repairs on these iconic British machines. Fortunately, readily accessible online resources provide free downloads, simplifying the process of finding the necessary documentation. GTAMotorcycle.com stands out as a valuable source, specifically offering a manual for the Triumph Daytona and Triple models from 2001.
Furthermore, a dedicated service manual for the Triumph S3 from 2002 is also available through the same platform. These manuals typically contain detailed exploded views, torque specifications, and step-by-step instructions, guiding mechanics through everything from basic servicing to complex engine work. Access to these resources allows owners and mechanics alike to confidently tackle repairs, reducing downtime and maintenance costs.
Having the correct manual ensures accurate repairs and helps maintain the performance and reliability of your Triumph motorcycle. Always verify the manual’s compatibility with your specific model year before commencing any work.
Honda Motorcycle Service Manuals
Honda motorcycle service manuals are crucial for maintaining and repairing these renowned machines, and thankfully, numerous resources offer free access to official documentation. 4-Stroke.net emerges as a particularly trusted source, providing a comprehensive library of Honda workshop manuals, parts lists, service manuals, and wiring schematics in PDF format.
This platform covers a wide range of Honda motorcycles and mopeds, catering to both classic and modern models. The availability of these manuals empowers owners and mechanics to perform accurate diagnoses and repairs, ensuring optimal performance and longevity. The legacy of Sōichirō Honda, the founder, is upheld through the detailed documentation available for his creations.
Supporting 4-Stroke.net through donations ensures continued access to these valuable resources. Utilizing these manuals guarantees repairs are conducted according to Honda’s specifications, preserving the integrity of your motorcycle.
Yamaha, BMW, Ducati, Kawasaki Manuals
Finding service and repair manuals for Yamaha, BMW, Ducati, and Kawasaki motorcycles is essential for effective maintenance. Fortunately, several online platforms consolidate these resources, offering convenient access for enthusiasts and professional mechanics alike. A key resource highlighted is a website offering free downloads of repair, maintenance, and owner’s manuals for these brands, alongside motorcycle tutorials and microfiches.
This centralized location streamlines the search process, eliminating the need to navigate multiple websites. Access to these manuals empowers owners to confidently tackle repairs, understand their motorcycle’s intricacies, and ensure optimal performance. The availability of user guides further enhances the ownership experience.
These resources are invaluable for both routine maintenance and complex repairs, promoting self-sufficiency and reducing reliance on costly professional services. Proper documentation is key to preserving the longevity and reliability of these iconic motorcycle brands.